I spent countless hours trying to install the free version of the Xilinx software on may windoze Virtual machine and I have finally succeed.
I must say that although I have never used Xilinx ISE Webpack, I already hate it. It come in a huge installation archive (2.7 GB) and an equally huge update archive (2.4 GB). The option to use the “slim” installer (88 MB) is worthless since there is no ways of saving the required files for an eventual reinstallation (which was needed twice in my case).
Anyway, after installing/uninstalling/installing many times I finally got it to work. And this very lengthy and painful process reminded me why the Open Source world is so much more convenient. Installing a full linux distribution with tons of extra programs takes half the required storage and a third of the time. Too bad FPGA programming tools are ruled by the chip manufacturers.
All this painful process was required in order to get my new NanoBoard 3000 running. Hopefully I wont have to use Xilinx ISE anytime soon. Altium Designer was much easier to install and requires less storage.
I know this has been said before, but I cannot find it, so here it goes again.
Ever since I got my EeePC, I got obsessed by the amount of screen real-state Firefox takes for the top menu, browsing control buttons, address and search bar, etc.
The quickest fix I always apply every time I am in front of a Firefox windows that is not mine is to move the Bookmarks toolbar content right next to the File menu and to disable the Bookmarks toolbar. This removes one full toolbar, and unless you have a really heavily populated Bookmarks toolbar, should function very well.
But I wanted to go further (especially since I saw that Chrome uses less screen real-state). So I installed a few add-ons that make a significant difference:
AHS. autoHideStatusbar does precisely that. It hides the status bar unless it is required (i.e. a page is loading or you hover a link) or you go near it with the mouse pointer.
Smart Stop/Reload. It combines the Stop and Reload buttons (since they are never used at he same time).
Tiny Menu. It transforms the File menu into a single item. This extension saves a lot of real-state and the menu remains nice ans usable.
By using these extensions and moving things around in the toolbars, you can achieve a very tiny navigation interface that is perfectly usable.
Kubuntu Karmic Koala is finally out! I use it since the Release Candidate came Oct. 22 nd, and it is absolutely awesomely mind-blowingly fabulous. All of the kinks in Jaunty have been fixed and a lot of new features have been added.
Kubuntu?
Why am I talking about Kubuntu and not about its more popular sibling Ubuntu? Well, very simply because KDE kicks Gnome’s ass any day (while blindfolded and with all of its finger stuck in its nose). I know that seems like a very bold and unjustified statement, well it is indeed very bold but totally justified.
The main difference about KDE and Gnome, besides the fact that the KDE foundation is much more solid, flexible and portable, is the mindset. In KDE you can configure (trough a nice GUI) pretty much everything, whereas in Gnome, you get a bunch of very comfortable defaults that (although they can be modified) are not intended to be fiddled with too much.
Also, KDE is much more than a desktop environment and provides a full suite of programs that do almost everything you could want to do. These programs also integrate very well together and provide as many more features and options than any sane person would need or be able to use (but who likes sane people anyway?).
Quick Review
My Desktops (Grid View)
I am currently using the 64-bit version of Kubuntu and it is performing incredibly well. The system (my laptop) boots in around 40 seconds and turns off in less than 15 seconds. The graphical performance is flawless and I can benefit from smooth performance even when doing very processor intensive tasks (such as stitching photos together).
Also, It comes with Ubutu One (a remote storage service) which is pretty convenient for sharing and backing up files.
I’ll try to do a screencast and post it in order to show off the Koala.
As promised before, here is the Python script that runs my panoramic camera hardware. It is a very quick prototype and is by no means intended for widespread use since it requires manual calibration. Nevertheless, it might be very useful to those seeking to learn how to position the servos or control a digital camera through Python.
This script requires my Pololu library and includes some codes from here in order to control the camera. Besides the basic requirements of lib_pololu, the script also requires gPhoto. If you are running Linux, you most likely already have it but in case you do not, you can install it through your favourite package manager or by using the console (e.g. for Ubuntu/Debian):
sudo apt-get install gphoto
If you are using some other OS, you can download gPhoto from here.
The Code
Again, many thanks to RobotShop who provided the hardware that made this project possible.
I started writing a library for controlling the Pololu motor controllers with a computer trough a serial port.
I’m writing this in Python so the code can be cross-platform but I would be very glad to have some feedback about running it on other OSs than Linux. Actually, any feedback would be very welcome.
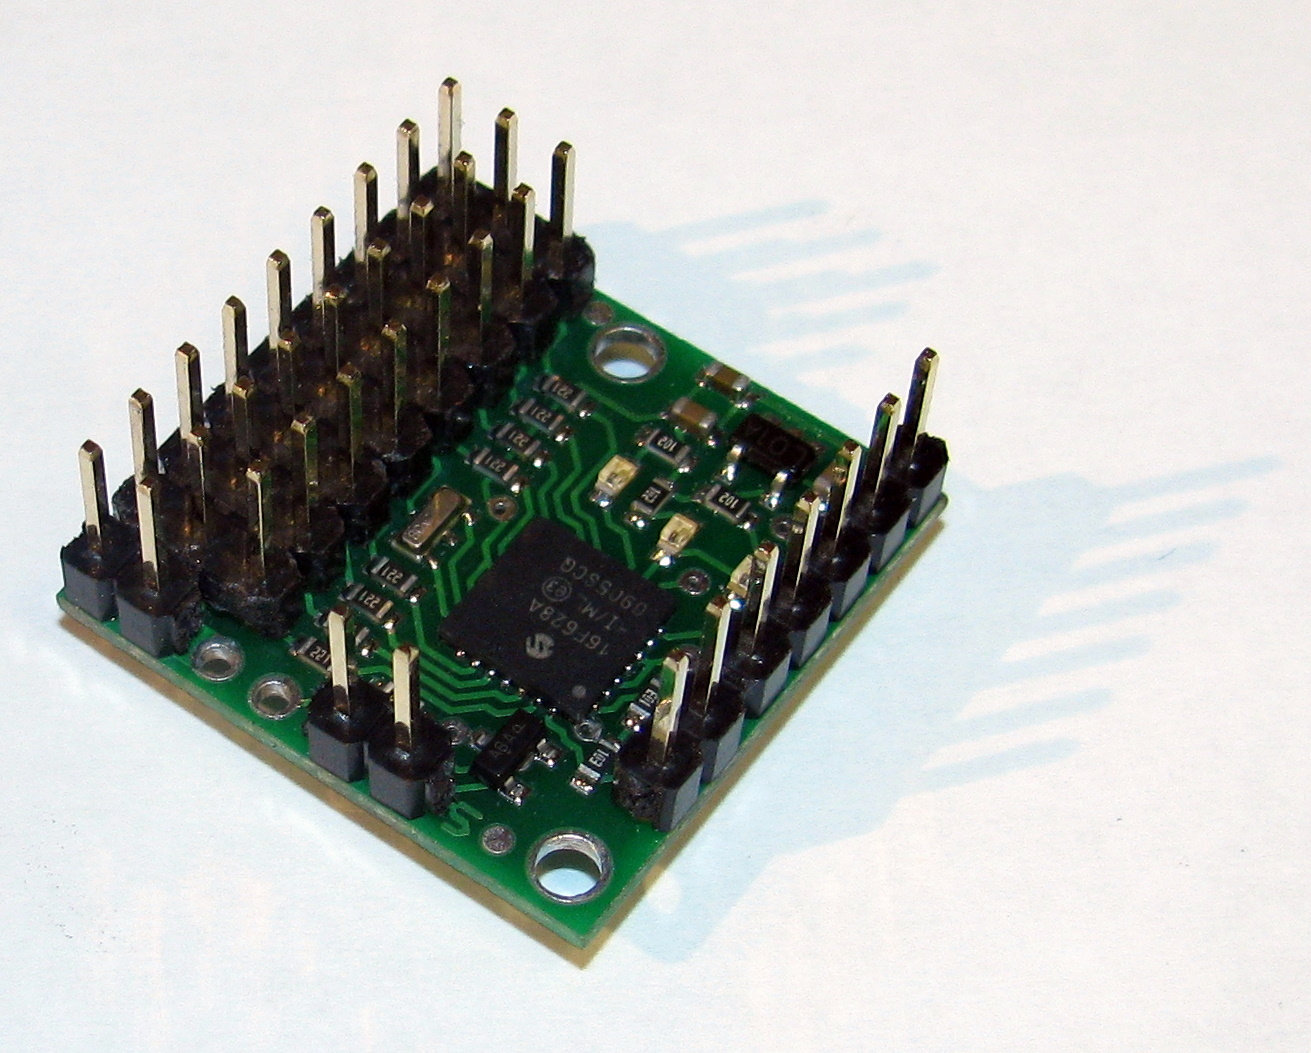
As of now it can interface with the Pololu Micro Serial Servo Controller that I got form RobotShop. I am planning to use this code in my upcoming project RobotShop is sponsoring. I will supplement this library as I get newer hardware to work with.
I know there is already a python interface for it but I really wanted to have an object oriented way of managing motors (i.e. they can be instantiated and controlled more easily).
You can download the library here: lib_pololu.py (you will need to change the extension of the file to .py instead of txt).
In order to properly use this library you will require:
If you use a civilized OS you may be able to get all this by typing this in a command prompt:
sudo apt-get install idle python-serial
Here is a sample script that will use the library in order to control a servo: servo_example.py (you will need to change the extension of the file to .py instead of txt).
Note for Redmond OS (aka Window$) users: you will need the Win32 Python extension for pyserial to work.


